How to Flush DNS Cache on Windows
How to Flush DNS Cache on Windows
In this tutorial, I’m going to show you how to clear / flush DNS cache on Windows. If your computer is having trouble loading certain websites or is showing outdated information, clearing the DNS cache can often solve the issue.
Quick Solution:
- Open the Command Prompt.
- Type the following command:
ipconfig /flushdns - Press Enter.
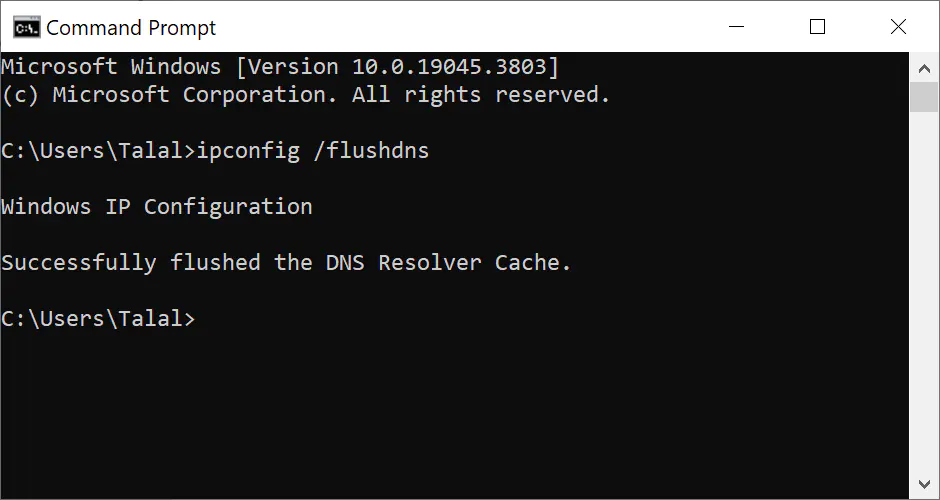
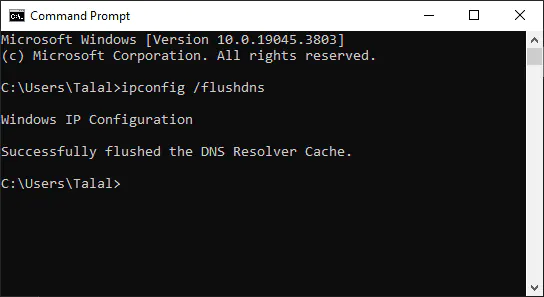
You should see a message confirming that the DNS cache was successfully flushed.
Why Flush DNS Cache?
The DNS cache stores information about websites you’ve visited. Sometimes, outdated or corrupted data in this cache can cause connection issues. Flushing the cache forces your computer to retrieve fresh DNS information.
Step-by-Step Guide:
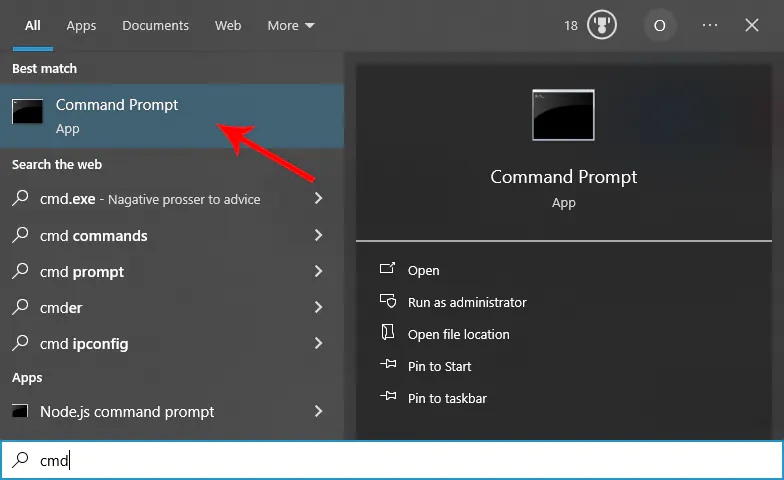
- Press Windows + R to open the Run dialog, or click on the search icon in the bottom left corner, type
"cmd", and then select"Command Prompt". You can also press the WIN + Q shortcut key on your keyboard to quickly search for Command Prompt.
- In the Command Prompt window, type:
ipconfig /flushdns
- Press Enter.
- Type cmd and press Enter.
- Look for the message: “Successfully flushed the DNS Resolver Cache.“
The process is essentially the same for nearly all versions of Windows. In this tutorial, the steps are demonstrated using Windows 10, but you can follow the exact same process of opening Command Prompt and entering the command in Windows 11 as well.
Don’t forget to check the Windows tag for more Windows-related tips and tutorials, and feel free to drop any questions in the comments section.
What is DNS?
In simple terms, DNS (Domain Name System) works like the internet’s phone book. It translates easy-to-remember website names into the numerical IP addresses computers use to find each other. If you’d like to learn more about how DNS works in Windows, you can check out this detailed Microsoft guide.
Clearing the DNS cache is quick, safe, and often one of the easiest troubleshooting steps you can try when facing unusual browsing issues. Give it a go next time a website refuses to load, it might just fix the problem.